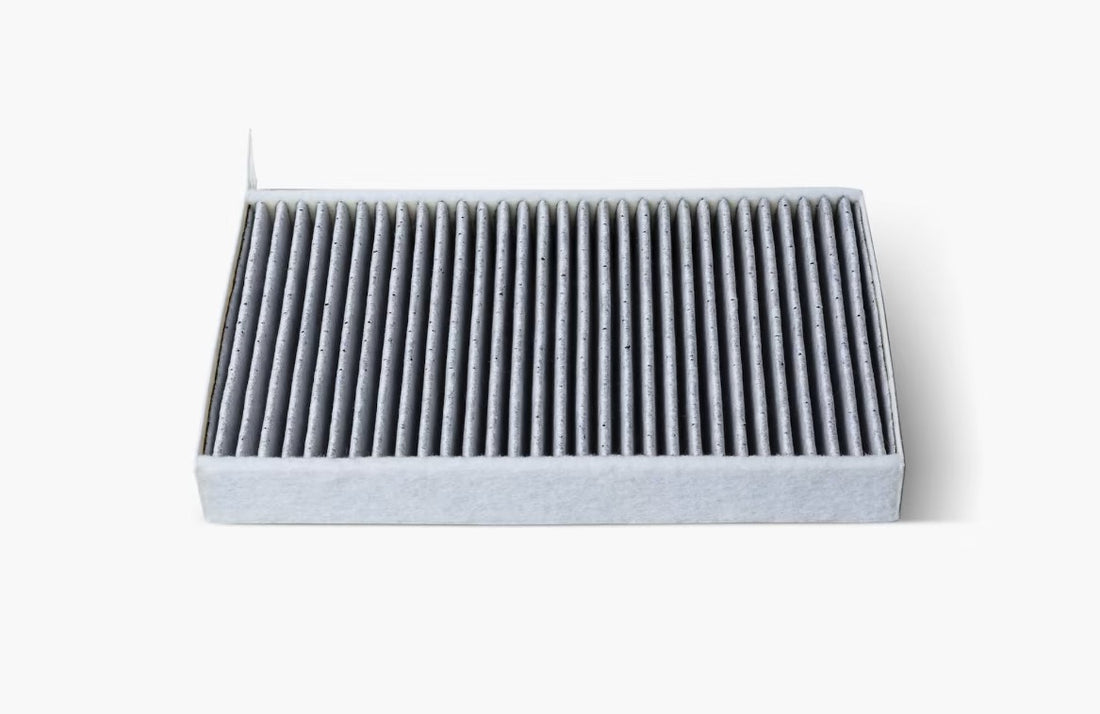
How to install & replace Clevisco Tesla Model 3 & Y Cabin Filter
Your Tesla Model 3 is equipped with advanced air filters designed to keep out pollen, industrial fallout, road dust, and other unwanted particles from entering your car's cabin through the vents. To ensure optimal performance, Clevisco recommends replacing these cabin filters every 6 months or 1 year due to the dusty climate of the U.A.E. You can conveniently purchase the necessary cabin filters from here
Follow these step-by-step instructions to replace the cabin filters using Clevisco's high-quality filters, just like a pro:
- Begin by turning off the climate control system for safety.
- Move the front passenger seat all the way back and remove the front passenger floor mat.
- Use a clip pry tool with precision to carefully release the push clips that secure the front passenger footwell cover to the instrument panel. As you support the footwell cover, gently disconnect the two electrical connectors and set the cover aside.
- For the light connector, exert careful pressure on the tab while simultaneously releasing the connector.
- Similarly, for the speaker connector, skillfully angle the vehicle-side connector to disengage the small tab from the footwell cover-side connector, ensuring a smooth release.
CAUTION: It's crucial to avoid any wire damage when disconnecting the connectors. Always pull from the plastic part of the connectors, being mindful not to exert excessive force.
- Working from top to bottom, employ a trim tool with finesse to delicately release the right side panel from the center console.
- Locate and remove the T20 screw that secures the cabin filter cover to the heating, ventilation, and air conditioning (HVAC) module. Once the screw is removed, gently move the cabin filter cover aside. In some cases, the screw might be a T20/6mm hybrid fastener, or there may be tabs instead of a screw. If your vehicle features tabs, use your index finger and thumb to gently squeeze the two tabs at the bottom of the cabin filter cover. Then, tilt the cover outward to remove it. If your HVAC module does not have a cabin filter cover, reinstall the trim panels and reach out to Tesla for further assistance.
Note: Should you encounter a scenario where the HVAC module lacks a cabin filter cover, it's advisable to reinstall the trim panels and seek guidance from Tesla.
Warning: Exercise extreme caution not to stretch, bend, or cause any damage to the orange High Voltage (HV) cables attached to the cabin filter cover. If you notice any damage to these cables, cease the procedure immediately. HV shock can lead to severe injury or even death.
- Fold the upper cabin filter's tab upward and the lower filter's tab downward.
- Firmly grasp the tab on the upper cabin filter and pull it out from the HVAC module. Then, holding the tab on the lower cabin filter, gently pull it upwards and out of the HVAC module.
- Prioritize correct installation by ensuring that the arrows on both new filters face toward the rear of your vehicle. Insert the lower cabin filter into the HVAC module, lowering it into place. Next, insert the upper cabin filter above it.
- Fold the tabs inward, allowing the cabin filter cover to be seamlessly installed.
- Engage the lower cover tab and secure the T20 screw or T20/6mm hybrid fastener to install the cabin filter cover. If your vehicle uses tabs instead of a T20 screw, carefully maneuver the top-notch of cabin filter cover into position, then secure the tabs at the bottom of the HVAC module. Remember to tighten the screw to 1.2 Nm/0.89 ft-lbs if applicable.
- Reconnect the two electrical connectors to the respective components in the front passenger footwell cover. Once the connectors are securely in place, reattach the cover using the push clips.
- Align the right side panel meticulously with the front and rear locator slots on the center console. Apply gentle pressure until all the clips are fully secure, ensuring a seamless fit.
- Finally, reinstall the front passenger floor mat and move the front passenger seat back into its original position.
Congratulations! You have successfully replaced the cabin filters in your Tesla Model 3 using Clevisco's top-notch cabin filters. Enjoy the refreshing and clean cabin environment during your future rides
Still Need Help?


